Welcome

Welcome to my blog ...thanks for visiting!

Wednesday, September 14, 2016

Cloud 9 New Block Blog Hop


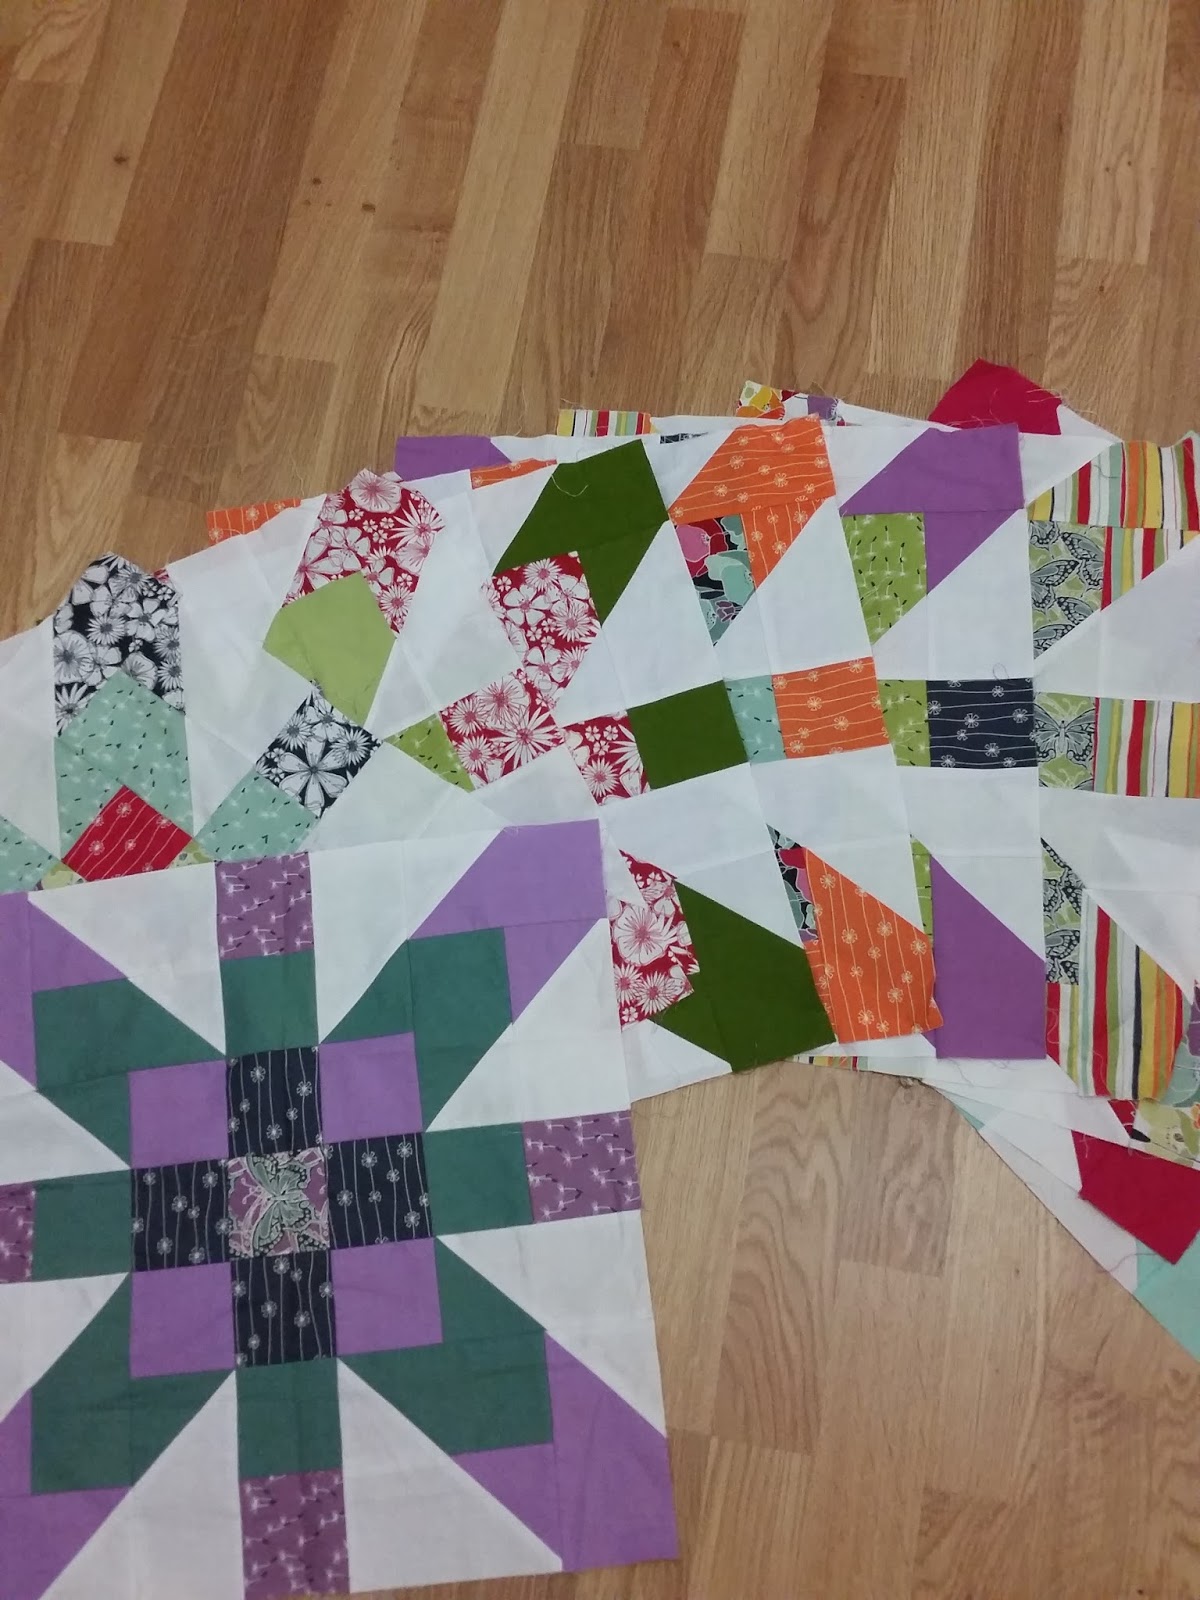
Hello, and welcome to my stop on the Cloud 9 New Block Blog Hop! It is my pleasure to bring you a brand new block tutorial using this gorgeous collection of cirrus solids from Cloud 9. There are over 60 participants who have created new block tutorials and I hope you visit all of them! A special THANKS to our hosts (who are also having giveaways)

Yvonne @Quilting Jetgirl and Cheryl @Meadow Mist Designs!


When I saw this color family, the first thing I thought of was playing with transparency, so that's what I've done, in a (hopefully) easy and fun way! 
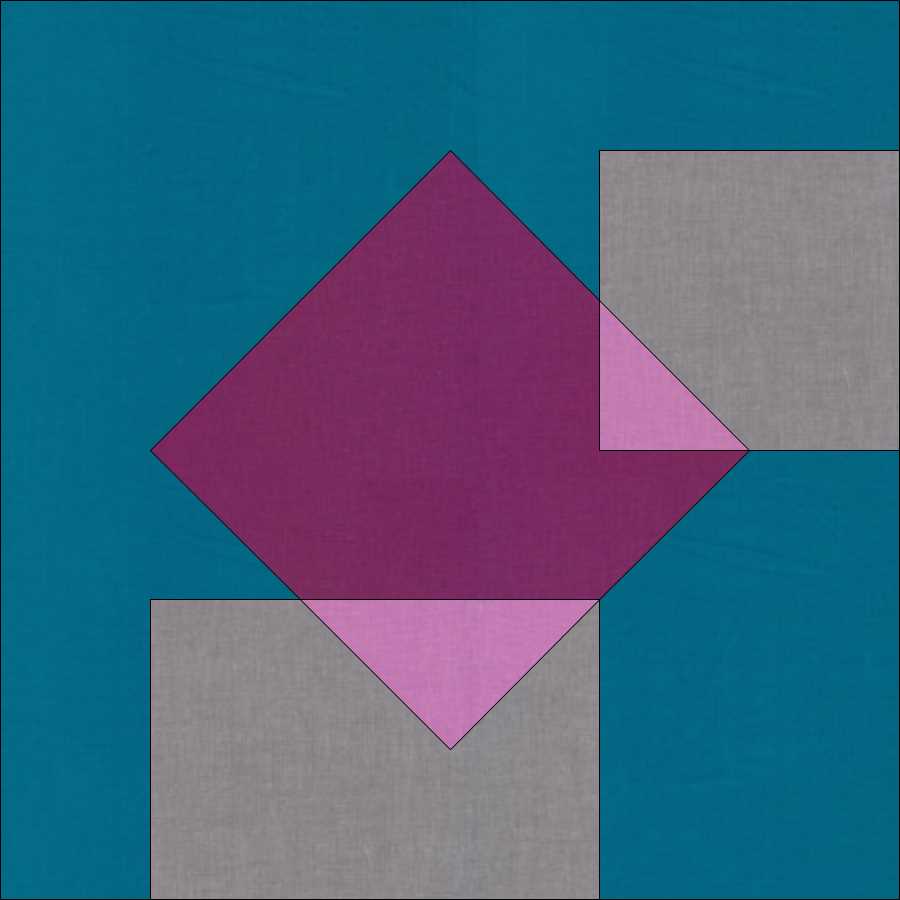

Through the Glass Block


Materials Needed:


  • ·       ¼” yard each: Cloud 9 Amazon, Shadow, Iris and Lilac. You will have plenty of fabric left for at least 2 more blocks.
  • ·       Sewing machine
  • ·       Cutting mat/ruler (Block-Loc ruler is helpful for trimming half square triangles)
  • ·       Rotary cutter/scissors
  • ·       Frixion (or other) marking pen

Block Instructions

Step 1: Cut


Amazon (background)
(1)    2.5 x 2.5”
(4) 2.5 x 4.5”
(3) 4.5 x 4.5”
(1) 3 x 3”
Shadow
(1)    2.5 x 2.5”
(1)    4.5 x 4.5”
(3)  2.5 x 4.5”
Iris
              (1) 3 x 3”
              (2) 4.5 x 4.5”
Lilac
              (1) 4.5 x 4.5”

Step 2: HST Time!

We need to make half square triangles by two different methods. I like to chain piece, so I arranged all my squares, sewed them all, and then trimmed them.
1.           Pair the Amazon and Iris 3” squares right sides together to make a traditional HST. Draw a diagonal line and sew ¼” away from either side of the line. Press, cut on the line, press one HST open and then trim it to 2.5”.
2.           Pair the Amazon and Iris 4.5” squares right sides together and pin.
              Pair the Lilac and Shadow 4.5” squares right sides together and pin.
              Sew both all the way around the square ¼” from edge.

3.           Press, then cut diagonally both ways. (A rotating cutting mat works great for this.)

4.           Press the HSTs open and trim to 2.5”. I used my 2.5” Block-Loc ruler and it speeds things along nicely!


This leaves us with
(5) Amazon/Iris HSTs and (3) Lilac/Shadow 2.5” HSTs. One Amazon/Iris HST and one Shadow/Lilac HST are scraps.

Step 3: Sewing Part 1

 (again I did all the pairing and then chain pieced this step)

1.           Pair 2 sets of Amazon/Iris HSTs together as shown and sew RST (right sides together.)

2.           Pair 2.5” Amazon square with Amazon/Iris HST as shown and sew together


3.           Pair 2.5” Shadow square with Shadow/Lilac HST as shown and sew together.

4.           Pair 2 Shadow lilac HSTs together and sew as shown.

Step 4: Sewing Part 2

1.           Pair the 2 Amazon/Iris HST units with Amazon 2.5” x 4.5” rectangles as shown and sew together along long edge.

2.           Pair the 2 Shadow 2.5” x 4.5” rectangles with the Amazon 2.5” x 4.5” rectangles and sew
 together along long edge.

3.           Pair the Shadow/Lilac HST set with Shadow 2.5” x 4.5” rectangle and sew together.

4.           Pair the Shadow/Lilac HST unit with Amazon Iris HST unit and sew together

5.           Press all units open
Step 5: Arrangement
Arrange your block pieces as shown and sew together into 3 rows and then join the rows together.


Result: A 12.5” “Through the glass” quilt block... in the sunshine, through the window and all mixed up!


Thank you for  visiting and don't forget to visit all the other fantastic participants!

Monday, July 11, 2016

Finish Along 2016 Quarter 2 roundup and Q3 Goals

The days are flying by and it's time once again to look back at the previous quarter and look ahead toward what I hope to accomplish by the end of the next quarter.   I did get a few things done this time, but there's so much left to do!

Quarter 2:
1. Pillowcase - finished!

2. Doggie quilt - finished!

3. Basket - finished!

4. (2) gift place mats - not yet started.. thinking of moving to Q4 just in time for Christmas
5. Pouches -finished!
6. Playhouses Doll Quilt - not yet started
7. Baby girl quilt gift - started and changed theme
8. Succulents wall hanging - not yet started
9. Picnic quilt - not yet started
10. Easter baskets - not yet started. I think this would fit better in my Q1 2017 list!

Quarter 3 Goals:
1. Laptop sleeve - I've been searching for a simple sleeve for my laptop and my husband suggested I just make one... why didn't I think of that? 
2. Baby girl quilt - This was to be a water or beach themed quilt, but will be from the Halfhearted Pattern. I've made about 20 blocks and have about 20 more cut out. 

3. Zippered pouches - at least 5, but hope to make more. I designed some fabric depicting the city symbols, so this will be fun to experiment with.

4. Shopping totes - I hope to make 2 using the same fabric.
5. Bee quilt - this is a throwback to last year. I think it needs one additional row. I put it aside because it's slightly too small for my current bed and because it's going to be a beast to quilt on my small machine. It is so easy to put off projects that will made for myself!

6. Commission quilt - I need to make a lap-sized quilt in jewel tones to be used as a couch throw.
7. Playhouses doll quilt - Now that she's finally started summer break, my daughter is happily choosing fabrics from my scrap baskets...and spreading them all over the floor. I have no idea where she learned that.
8. Supernova - I only need to make 2 more blocks before I can sew up this top. They take FOREVER but it would be nice to get this one finished for myself as well. Plus, maybe then my partner will be inspired to finish hers too!
9. Picnic Quilt - this bundle is still waiting patiently!
10. Another bee quilt - I'm being ambitious, but this is a pile of blocks just begging to be rescued from the cabinet and sewn together!

There are so many more things I'd like to put on this list, but I will stop here for now! Linking up to 


Wednesday, July 6, 2016

Doggy Basket

Whoops, I was trying to link up this finish to the 2016 Finish Along through IG, but I had no luck, so I'm writing up a quick post to get it in.

This basket was made to go with the Doggie Quilt

I recently made for my nephew. I'm happy to say that they've received their package and were very surprised and happy. My brother had no idea that this was a basket though, and he was trying to figure out how to attach it to their stroller before he wised up and sent me a message. What a nut!


a peek at the inside

Just the right size to hold a baby quilt!

from the back..
This is #3 on my Q2 FAL list.

Tuesday, June 28, 2016

Zippy Pouches

Hello again!

I've been busy sewing up zippered pouches as gifts for expat friends who are returning to the US this summer. I have been experimenting with different fabrics and methods for creating the Radschlager, which is the symbol for the cartwheeling child seen all over Dusseldorf.

The incomparable Kristy of During Quiet Play was generous enough to help me with a pattern in EQ7. I have so much to learn about that program!

First up, I made a pale grey quilted pouch with red floral cartwheeler. My mega pile of charm packs was perfect for this paper pieced project. 
Zippy Pouch 1
The entire gift with red Dusseldorf skyline mini painting
Next up, a more pastel palette was in order for my friend Miss A.
"Paisley pouch"
Zippy Pouch 2 with white city skyline mini painting

For my 3rd attempt, I decided to try imitation leather. All these fabrics so far have been from my stash. Since fabric prices are sky high here in Deutschland, it makes it easy to shop around in my own stuff! This pouch is made from a cream and black print with pale yellow lining and zipper. The symbol and gift recipient's initial is maroon. The great thing about the imitation leather is that it doesn't fray, so I didn't need to reinforce it with quilting, or applique it on.

Zippy Pouch 3 with yellow city skyline mini painting
That concludes my going-away gift giving, but I am still experimenting. A few friends asked about purchasing pouches, so I decided to make a few extra while I have time. The final 2 were made assembly-line style, so they went a little more quickly. This time, I used red felt for the cartwheeler and a charcoal print from Madrona Road with red interiors and tiny zipper charms. There's even a little "dusseldorf" stitching at the bottom.
Zippy Pouches 4 & 5

This more than completes #5 on my FAL Q2 list!
FMT


Monday, June 13, 2016

Silk & Satin finish

Hello again!

A few months ago, a girlfriend came to me with some beautiful fabric she found on her recent trip to Dubai.  She mentioned that she'd read somewhere that a satin pillowcase will prevent wrinkles (not that she has any.) Although this picture isn't the best, the cream is a soft satin and the batik is a raw silk scarf - really pretty.


This fabric has been sitting on my sewing table ever since. Although I knew it wouldn't take long, I really wanted to get my doggie quilt finished first. I found a couple of great tutes here:

makeit-loveit.com

Using a quick combo of these methods yielded a pretty pillowcase. The main challenge was working with satin and silk. Once it is cut, it seems to immediately fray and the edges curve. I tried starching it lightly, but the only thing that seemed to work was lots of pins. I guess I have some practicing to do!
wavy wavy wavy edge

Final product - kinda dark out

I added a little edging detail on the hem

all done and ready to go! 

This is #1 from my FAL list. I'm on fire!

FMT

Related Posts Plugin for WordPress, Blogger...